Production of parasols
How does parasol manufacturing work today?
In this article we explain how the production of parasols works nowadays.
(Note: Maybe you’re interested in the production of umbrellas or umbrella components?)
The modern production of printed parasols can be divided into several steps, just as with umbrellas. Parasol production in the industrial sector basically always involves the 6 steps described in the article. If the parasols are not printed, the first step can of course be skipped.
Step 1: Print on fabric

If it is a printed parasol, the cover fabric must first be printed with a customised design. A suitable printing process is selected depending on the design and product quality. For smaller quantities, digital printing or hand screen printing is usually used, while flat printing is more effective for larger quantities.
Step 2: Cut and sew fabric
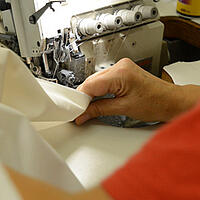
The next step is to cut the fabric to fit the individual elements (panels, valance, valve). Then the fabric parts are sewn together. It’s crucial to pay close attention to the correct positioning of the design, especially for promotional parasols with artwork.
Step 3: Production of struts and plastic parts
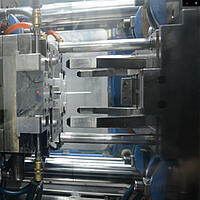
Once the fabric is prepared, you need to gather the parts of the frame. The frame of the classic parasol (garden parasol) consists of:
- Four short and four long ribs
- A parasol mast
- An easyshift for opening
- The nest connecting the arms with the mast
The ribs can be made of aluminium, wood or metal, and the easyshift and nest are usually made of plastic. All plastic parts are made with injection mold, while the ribs and masts must be cut to the correct length.
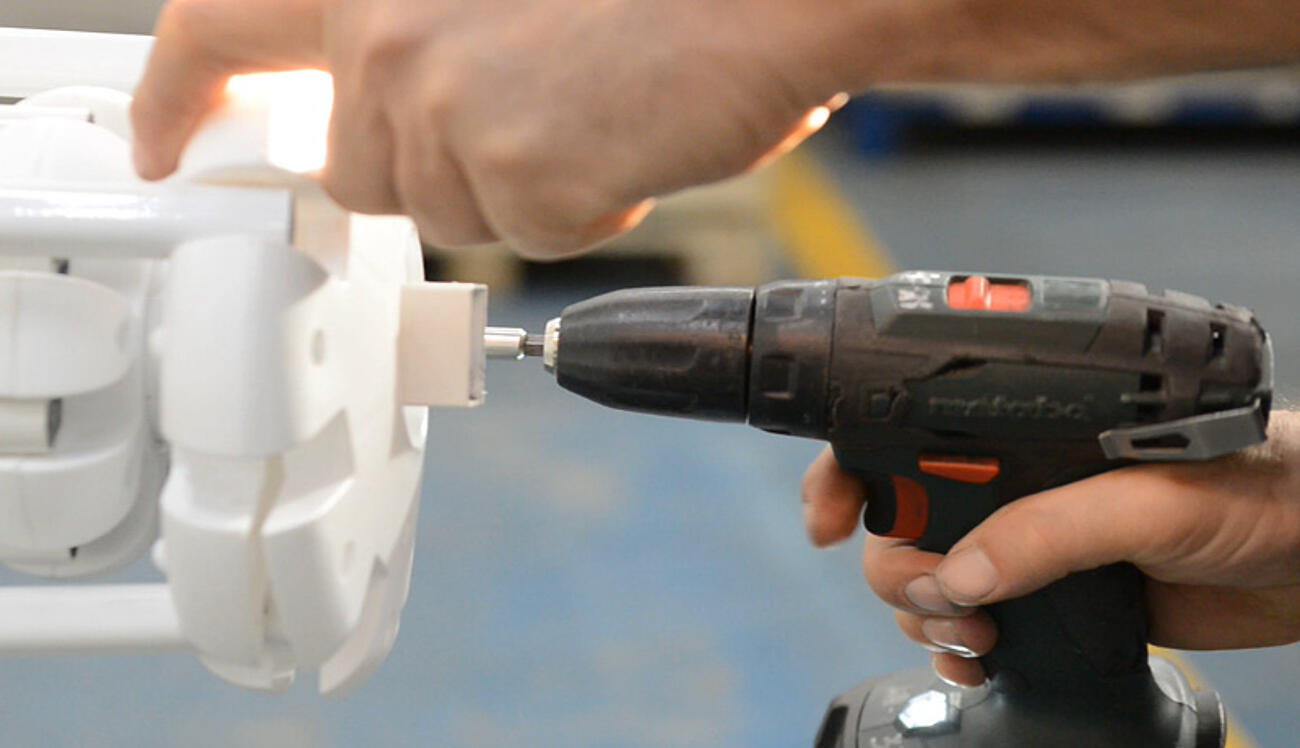
Step 4: Assembly of the parasol frame
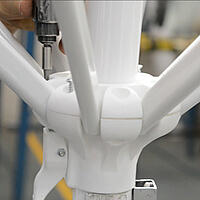
After all parts are prepared, the next step is to assemble the frame. The short ribs must be attached to the easyshift and the long ribs to the crown. Short and long ribs must also be connected with a hinge. As a rule, screws are used for this, while bolts are used for movable elements.
By contrast, it is somewhat more complex to assemble telescopic and silde leg parasols, as well as those that use crank opening.
Step 5: Combining of cover and frame
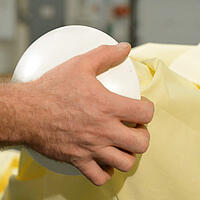
Now the cover can simply be put over the finished frame. A protective cap is placed or screwed on the top of the umbrella. Finally, the eight tips of the ribs are inserted into the cover and screwed together.
Step 6: Final inspection
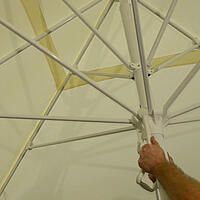
Once the parasol is ready, it's checked for a final time by opening it and then closing it again. If the parasol passes this final test, it can be packed and prepared for shipment.

