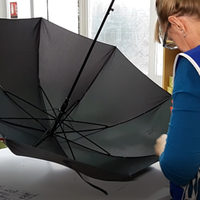


Manufacturing umbrellas - three steps
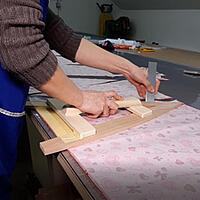
Manufacturing umbrellas – an ancient craft
How is an umbrella made?
(Note: two interesting articles for you: umbrella components and parasol manufacturing)
In the past, there was the profession of umbrella maker, but this role has now almost completely disappeared in Europe. However, the old craft of umbrella making still has its place in today’s manufacturing industry. After all, industrial manufacturing still continues to follow its basic features in the production process, and many steps are still performed manually. What is described below is the production of a classic umbrella. There are now many different variants of this umbrella, some of which are manufactured using new materials.
The umbrella manufacturing process can be divided into three stages:
- Sew umbrella cover
- Assemble the frame
- Combine the cover and frame
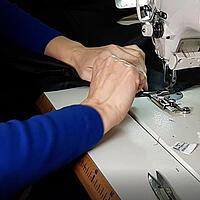
Step 1: Sew umbrella cover
The fabric with which the umbrella will be covered is first laid out evenly on a table. Triangles, each representing the shape of one of eight panels of the canopy, are drawn on with a chalk pencil and then cut or punched out.
The fabric is hemmed on the short edge. Each triangle forms a panel of the finished umbrella. The 8 panels are then sewn together along the long edge. Always start in the middle. The resulting 8-corner forms the canopy (or cover) of the umbrella.
A closing band is attached to one of the eight panels with a button or velcro. A metal tip is sewn on each of the 8 corners.
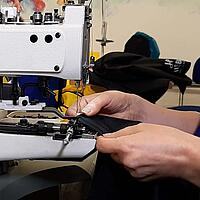
2. Assemble the frame
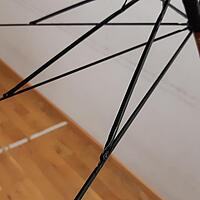
Eight long and eight short ribs are required for the umbrella frame. A short rib is riveted in the middle of each of the long ribs so that they can be moved like a hinge.
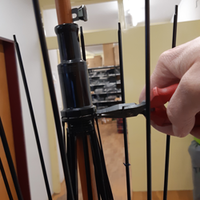
The crown is attached to a metal pole of the umbrella in the upper part using a pin. All 8 ribs are threaded on this with a wire. At the bottom of this pole is the easyshift.
The whole umbrella is topped with a ferrule.
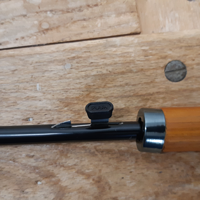
Two springs are then mounted on the pole. The frame can now be opened and closed using the easyshift. The easyshift finally latches onto the springs when it is opened and can be released again by pressing the spring with your finger.
Step 3: Combine the cover and frame
The cover is now pulled over the umbrella and sewn in the middle of each rib so that it cannot slip. The tips are then attached to the ribs.
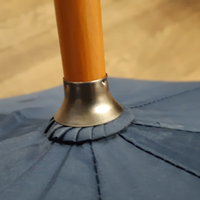
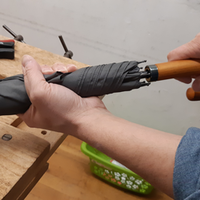
In the upper part, the cover and fabric are connected with a rosette and a metal ring. Finally, the handle is glued on and the umbrella is complete.
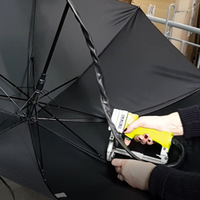
Each umbrella is checked for functionality and appearance and then packed.
An overview of the separate parts of an umbrella can be found here.
Umbrellas today
Even if the basic features of umbrella manufacturing have not changed significantly, many things have evolved to this day. Umbrellas have been equipped with additional practical features, while some have become very light or particularly wind-resistant. There are also many new possibilities as to how they are designed.